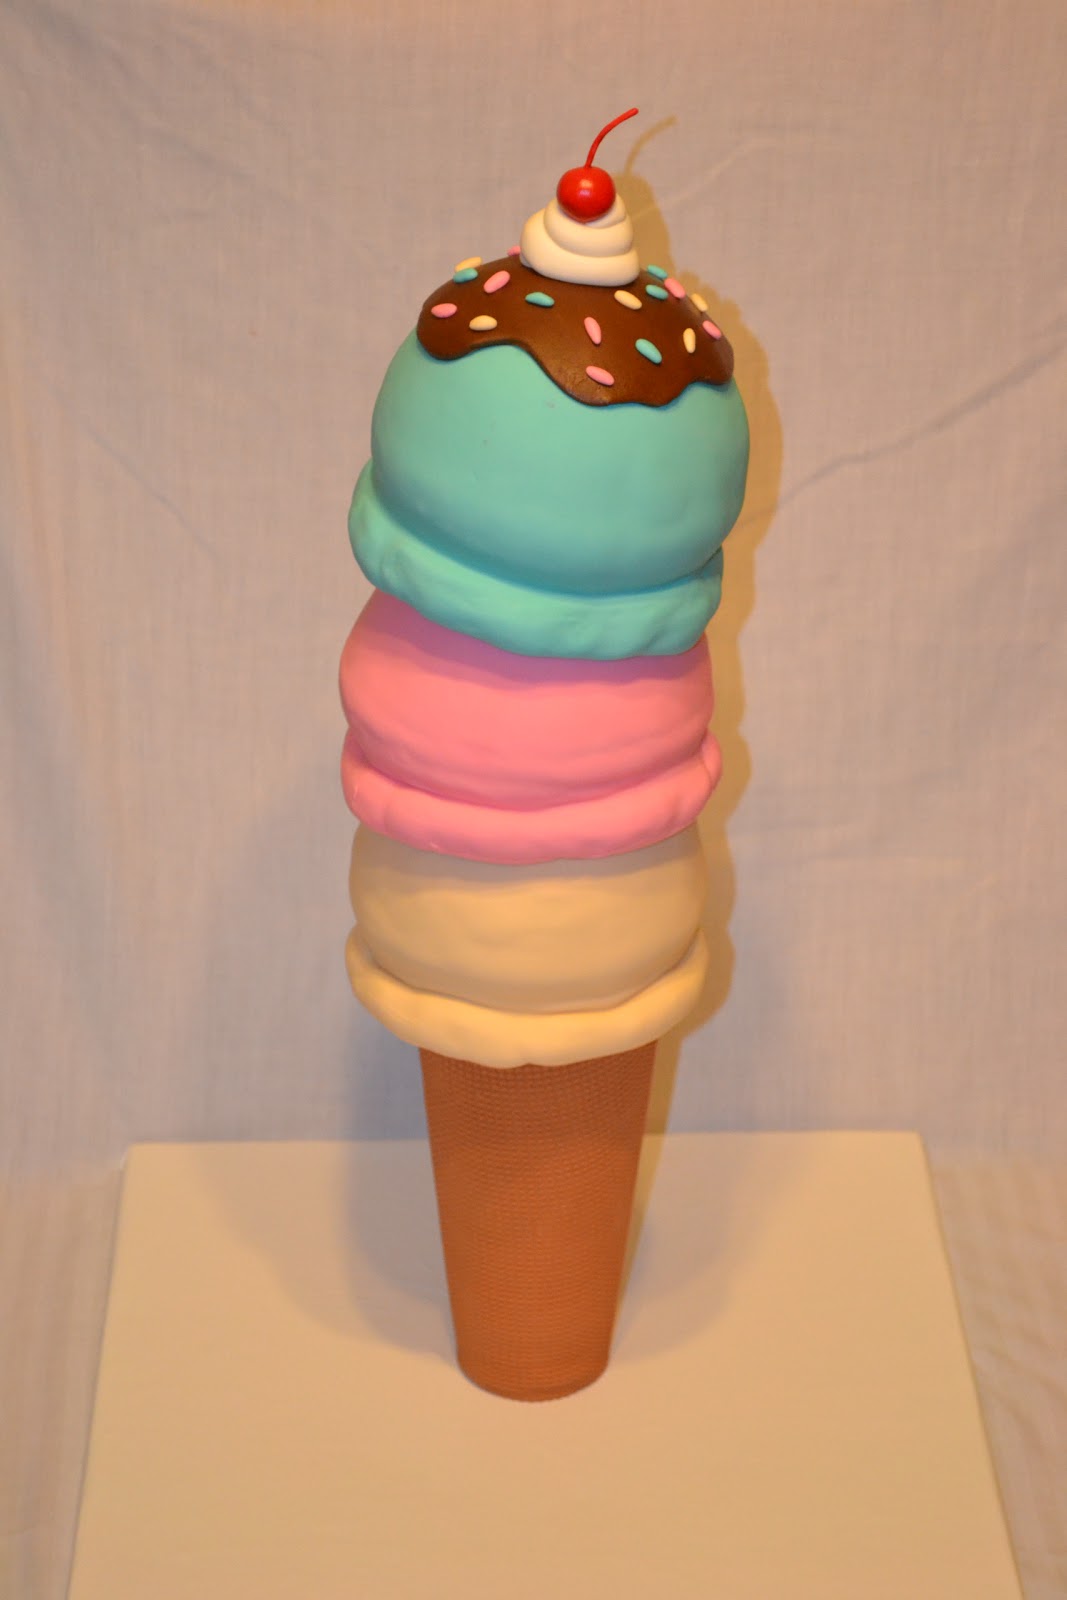
This triple scoop ice cream cone cake is just over 2 feet tall. It is made using the Wilton Sports Ball pan and several items from the hardware store. The scoops are all cake and the cone is styrofoam. Here's the "how to" just for you!

First, get your husband to cut you a piece of plywood about 17 to 18" square. If you don't have a husband, then check with your local hardware store. You may not find a husband there, but many of them sell smaller pieces of plywood and will cut it to the exact size you need.


To find the center of your board, draw two diagonal lines from corner to corner. Look! They meet in the middle. Cool, huh?

Center the floor flange (say floor flange 5 times fast) and then screw it in.

Screw the PVC adapter into the floor flange and then push the PVC pipe into the adapter. I covered the plywood board with contact paper as well.

Cut the point off of the cone. My cone is 9" from top to bottom.


You'll also need to carve away some of the foam on the smaller end of the cone where it needs a little more room to fit over the adapter.


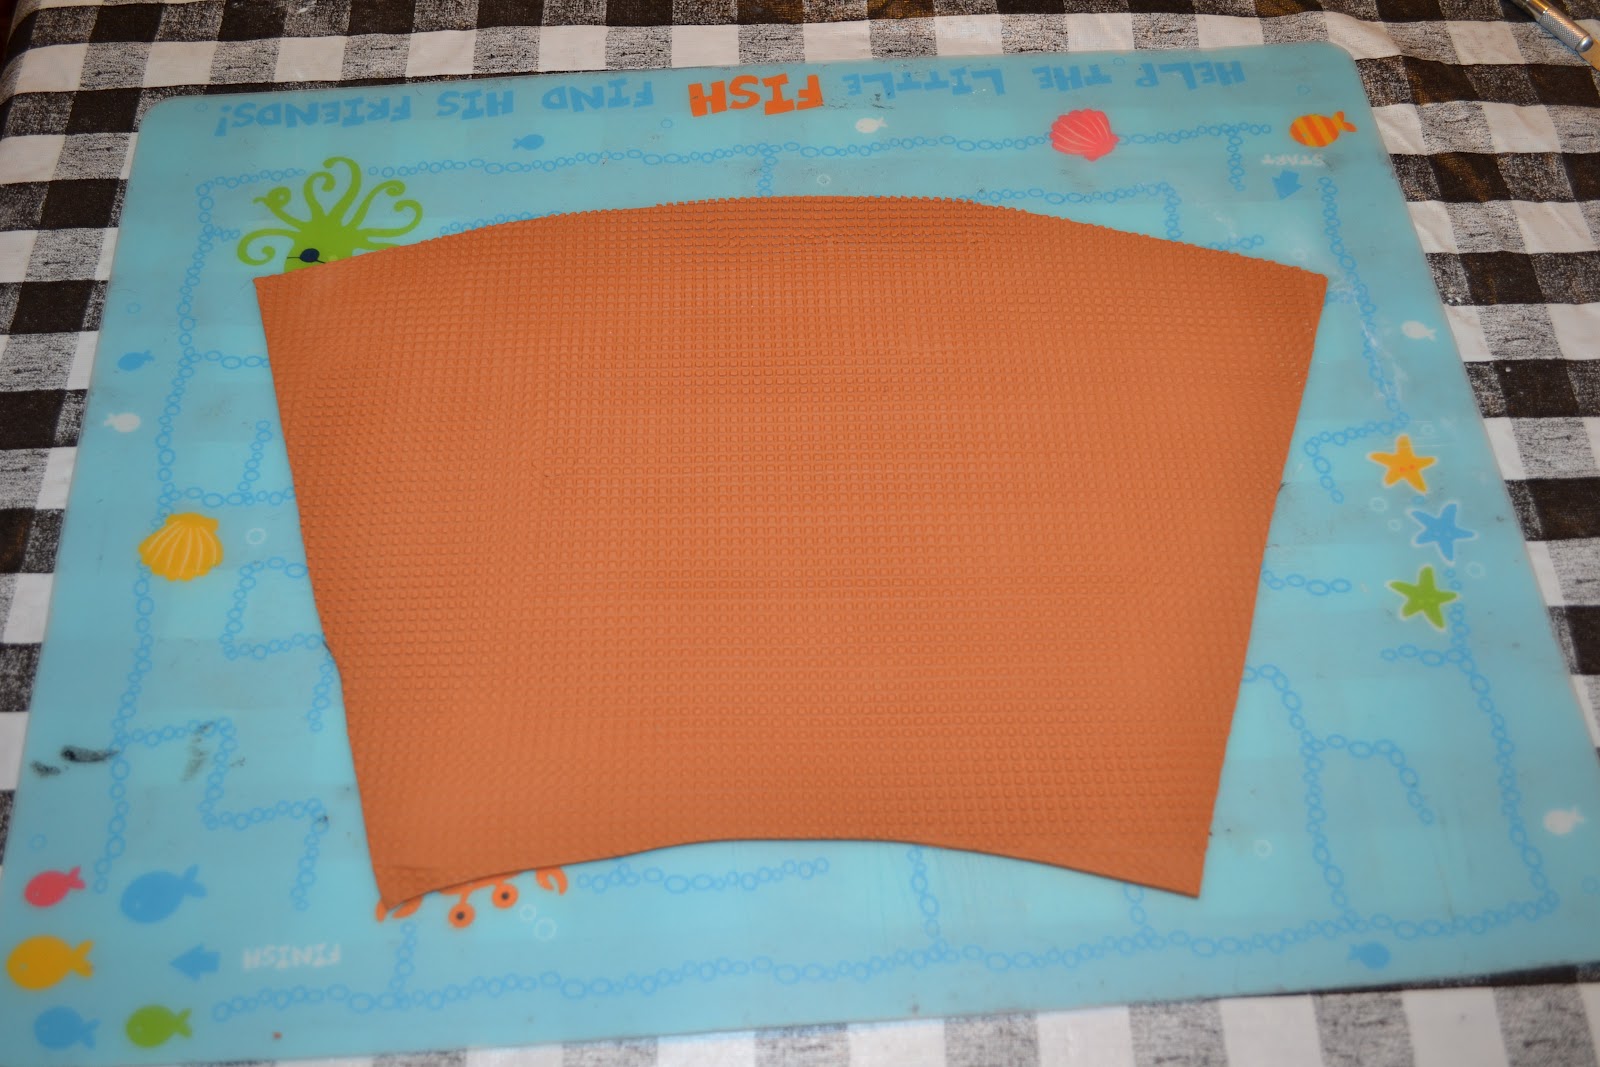
Roll the light brown fondant out, then give it a sugar cone look by using a checkerboard impression mat or a plastic cross stitching mat. After you press the design into the fondant, cut it out using the pattern.


Turn the fondant over so that the smooth side is up. Rub a little bit of Crisco here and there onto the foam. This will help the fondant stick to it. Then moisten the vertical edges of the fondant with water and gently press one end onto the foam. Roll the cone around and seal it on the other side. I tried to get the fondant even with the bottom edge of the cone. The fondant should overlap slightly on the side where it meets - press it together here. This seam will be the back of the cake. The fondant that sticks over the top edge can be pressed down.

Slide the cone over the PVC pipe. And now for the cake part...

The scoops are made using the Wilton Sports Ball pan. Each scoop rests on a 6" cardboard cake circle. You'll need a hole in the center of each cake board so that it can slide down over the PVC pipe. I used the pipe to trace the circle and then cut it out slightly larger. Test the circles and make sure they slide easily over the pipe BEFORE you put any cake on them!!!

Cut the top off of one of the halves. This will give you a flat, level bottom. Flip this half over and attach it to the prepared cake board with a little buttercream.

Fill and stack the other half of the ball. Repeat this for the other two scoops. For the bottom two scoops, cut part of the top off so you'll have a level place for the next scoop to sit. You can make this a level cut, or a slight angle if you want the scoops to look a little tilted. I did one level and one slanted. Keep one scoop nice and round for the top. Then crumb coat all the cakes. It helps if you stick the cake into the freezer for 15 minutes before you cover in fondant. This firms up the buttercream so it won't move around or get smooshed while you're applying and smoothing the fondant. After they have been in the freezer 15 min, move them to the fridge until you are ready to cover them in fondant.


Place the cake on on the raised board.


Now roll out the fondant and cover the cake.

Smooth the fondant down and fluff out the bottom. It's okay if it has a few wrinkles around the bottom. The nice thing about this cake - it doesn't have to be perfectly smooth. Ice cream can have creases and look lumpy!


In this demo I forgot to PRE-MOISTEN! So now I'm on my knees trying to carefully brush the water underneath the fondant.

Cut out the fondant over the hole.


Now carefully lift the cake up, over and down the PVC pipe.


Then roll out a little white fondant and swirl it around. Add a round ball of red fondant for the cherry and a few sprinkles.

To make the stem I used 18 gauge floral wire and curved it around a cup.


Then I took a small ball of fondant and rolled it over the wire, shaped it until it looked right and stuck it in the cherry. "Wow, that is a lot of whipped cream!" you say? Well, yes, it is. And this is how you fix your cake in front of a large audience when you forget your PVC cutters at home.


Thanks, Glenda! And Thank YOU - for taking the pictures. I really appreciate it!
ReplyDeleteWonderful tutorial. Many thanks to Charla and Glenda for taking the time to put this altogether. It would be great to make a tutorial (but a lot of work) for every demo at cake club. But then I would love it since I can't attend every month.
ReplyDeleteThanks again.
Love it you guys! Thank you both! I am going to do this cake this week to push myself to learn something new!
ReplyDeleteFelicidades por tu trabajo desde Barcelona - España
ReplyDeleteThis is great...thank you very much xx
ReplyDeleteLove the husband bit at the beginning, I have one but if I asked him to cut an 18" square I'd end up with a 5" triangle!
This is absolutely AMAZING!! it looks great and I bet it taste great as well =) ..Thank you so much for taking the time to share and let us in on the fun...Keep up the creativity!!
ReplyDelete