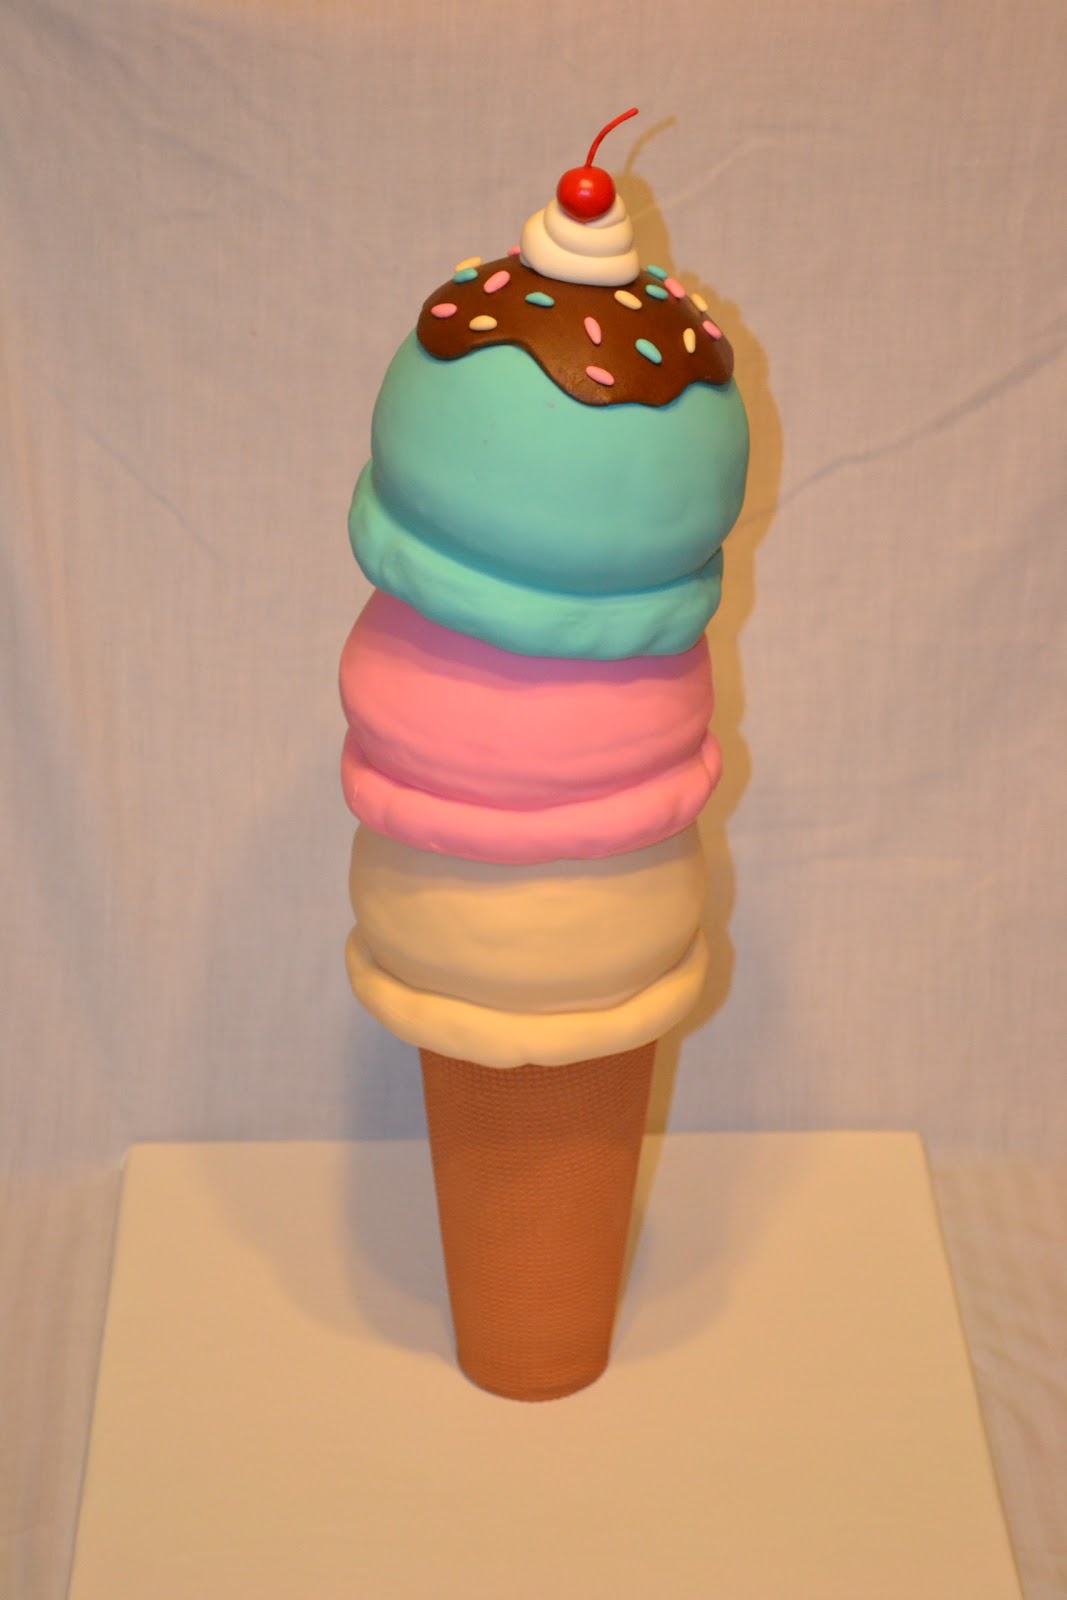
This triple scoop ice cream cone cake is just over 2 feet tall. It is made using the Wilton Sports Ball pan and several items from the hardware store. The scoops are all cake and the cone is styrofoam. Here's the "how to" just for you!
First, get your husband to cut you a piece of plywood about 17 to 18" square. If you don't have a husband, then check with your local hardware store. You may not find a husband there, but many of them sell smaller pieces of plywood and will cut it to the exact size you need.
The other supplies you'll need are a 1/2" floor flange (that's the round metal thingy), a 1/2" PVC adapter (that's the small white piece and it screws into the floor flange), at least 36" of 1/2 PVC pipe, four 8x1/2 flat phillips wood screws (not pictured) and a large floral foam cone. The cone can be found at craft stores and the other items are in the plumbing & hardware sections of your local hardware store.
To find the center of your board, draw two diagonal lines from corner to corner. Look! They meet in the middle. Cool, huh?
Center the floor flange (say floor flange 5 times fast) and then screw it in.
Screw the PVC adapter into the floor flange and then push the PVC pipe into the adapter. I covered the plywood board with contact paper as well.
Cut the point off of the cone. My cone is 9" from top to bottom.
Then you need to hollow out the cone. I used the longest, fattest drill bit in my husband's tool box and hollowed out the middle from both ends of the cone. Then I used this other weird looking drill bit - I think it is for making big circle holes in wood - and I went back over it again. You don't have to use these exact drill bits, but just figure out a way to hollow out the cone.
You'll also need to carve away some of the foam on the smaller end of the cone where it needs a little more room to fit over the adapter.
Test your cone and make sure it slides down the the PVC pipe and rests flush to the floor flange.
I made a pattern for the fondant that will cover the foam cone by laying the cone on large piece of paper and tracing it as I rolled it from one side to the other. I cut the pattern about 1/4" bigger than the actual size of the cone.
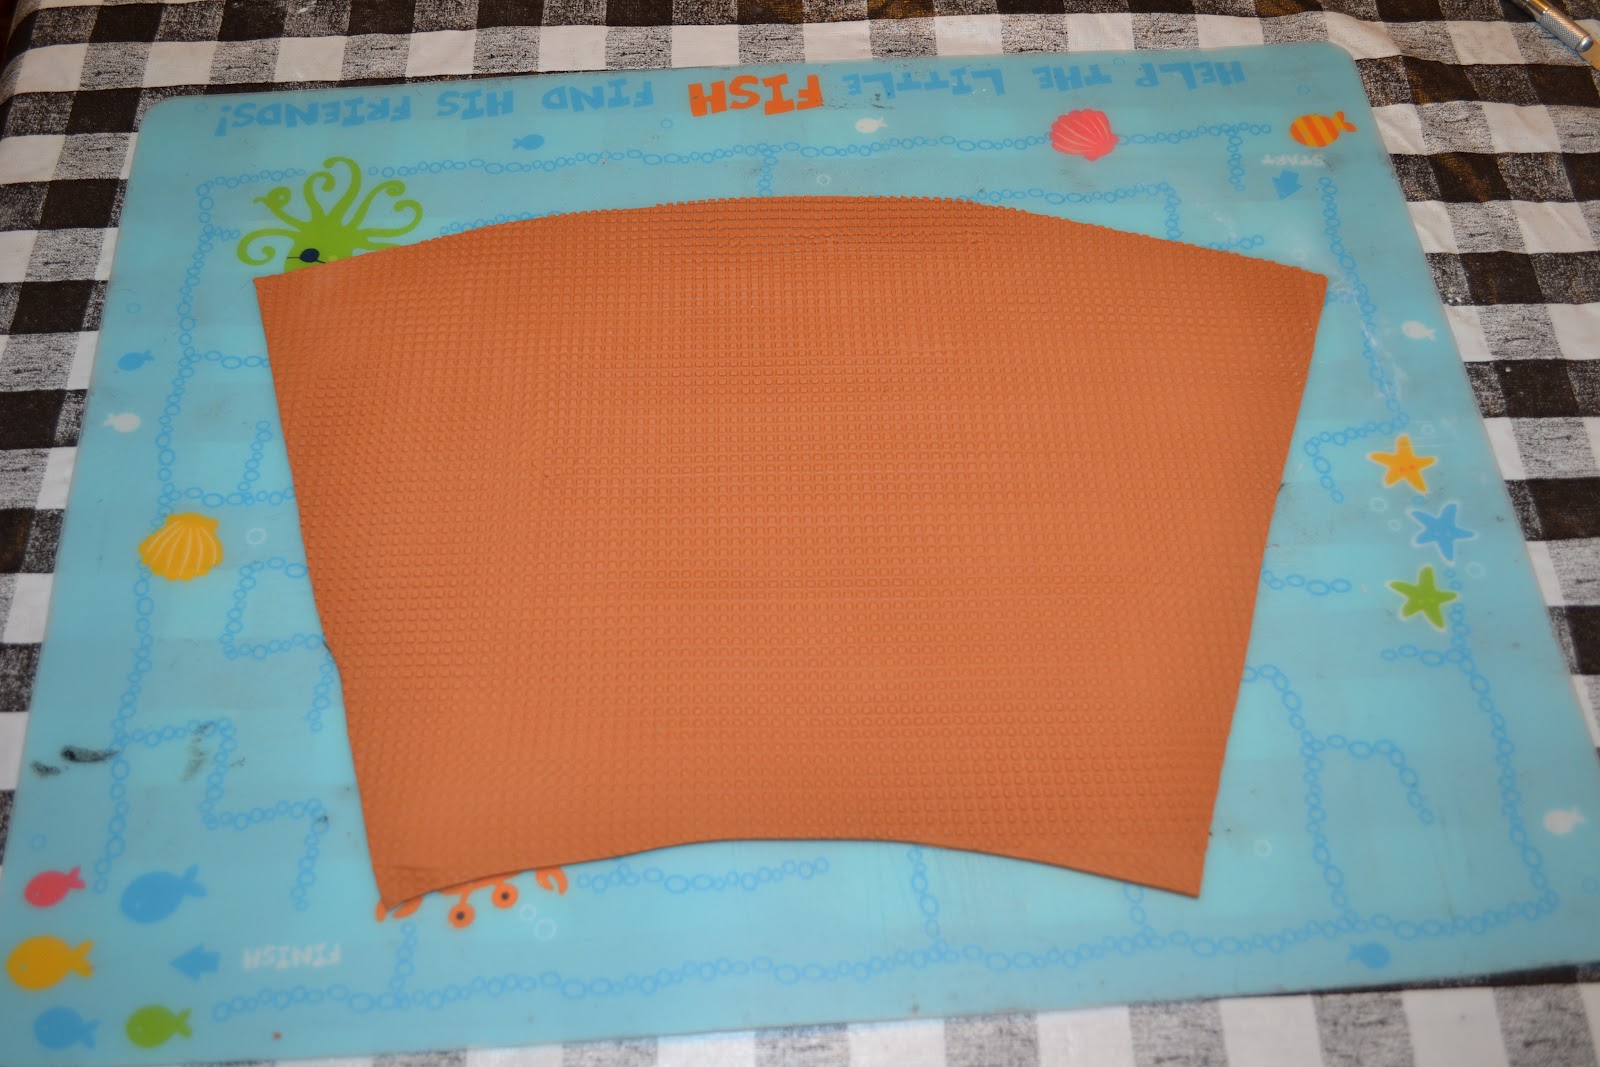
Roll the light brown fondant out, then give it a sugar cone look by using a checkerboard impression mat or a plastic cross stitching mat. After you press the design into the fondant, cut it out using the pattern.
This is what I used to make the impression. I think it is some kind of cross stitch mesh mat?? I'm pretty sure they sell in at the craft store.
Turn the fondant over so that the smooth side is up. Rub a little bit of Crisco here and there onto the foam. This will help the fondant stick to it. Then moisten the vertical edges of the fondant with water and gently press one end onto the foam. Roll the cone around and seal it on the other side. I tried to get the fondant even with the bottom edge of the cone. The fondant should overlap slightly on the side where it meets - press it together here. This seam will be the back of the cake. The fondant that sticks over the top edge can be pressed down.
Slide the cone over the PVC pipe. And now for the cake part...
The scoops are made using the Wilton Sports Ball pan. Each scoop rests on a 6" cardboard cake circle. You'll need a hole in the center of each cake board so that it can slide down over the PVC pipe. I used the pipe to trace the circle and then cut it out slightly larger. Test the circles and make sure they slide easily over the pipe BEFORE you put any cake on them!!!
Cut the top off of one of the halves. This will give you a flat, level bottom. Flip this half over and attach it to the prepared cake board with a little buttercream.
Fill and stack the other half of the ball. Repeat this for the other two scoops. For the bottom two scoops, cut part of the top off so you'll have a level place for the next scoop to sit. You can make this a level cut, or a slight angle if you want the scoops to look a little tilted. I did one level and one slanted. Keep one scoop nice and round for the top. Then crumb coat all the cakes. It helps if you stick the cake into the freezer for 15 minutes before you cover in fondant. This firms up the buttercream so it won't move around or get smooshed while you're applying and smoothing the fondant. After they have been in the freezer 15 min, move them to the fridge until you are ready to cover them in fondant.
I used a bubble straw to core out some of the cake. I think this makes it less messy when you slide the cake over the PVC pipe. But remember if one of the cakes is sitting at an angle, you'll also need to core it out at the same angle.
The cake needs to be slightly elevated before you cover it in fondant. I'm using a 4" piece of a 2x4 with a piece of non-slip shelf liner on top.
Place the cake on on the raised board.
Roll out some thick fondant sausages and set them on the lip of the cake board. Press it down slightly so it hangs over the board a little. You can even press it into the edge of the board a little to help it stay in place. This fondant should be uneven with a few dents here and there.
Continue around the whole cake.
BEFORE you cover the whole cake with fondant, moisten the bottom of this sausage roll with a little water on a paintbrush.
Now roll out the fondant and cover the cake.
Smooth the fondant down and fluff out the bottom. It's okay if it has a few wrinkles around the bottom. The nice thing about this cake - it doesn't have to be perfectly smooth. Ice cream can have creases and look lumpy!
Trim the excess fondant. You want just enough fondant hanging down so that you can fold it under the sausage roll and stick it to the part you have moistened with water.
In this demo I forgot to PRE-MOISTEN! So now I'm on my knees trying to carefully brush the water underneath the fondant.
Cut out the fondant over the hole.
Now carefully lift the cake up, over and down the PVC pipe.
Put in 4 dowels or bubble straws to support the next cake. Cut the dowels so that they are level with the top of the cake. Now repeat the above steps with the next scoop: (core out some of the cake with the bubble straw, add the sausage roll to the base, cover it with fondant, cut out the little fondant circle on top and then slide the next scoop down the pipe.
Again, use support dowels in this second scoop. At this point you want to see how tall your PVC pipe is. You will probably need to cut it down. You only want it sticking up about 3-4" because you
don't want it poking through the top scoop!!
For the top scoop, don't core out the center. Just place it over the PVC pipe. What ever cake is dislodged will go into the pipe. At this point, you might be thinking - is this pipe sanitary or food safe? Well this is what our drinking water runs through. I would just suggest washing it with warm, soapy water after you bring it home from the hardware store.
To decorate the top of the cake, cut out a wavy circle of chocolate colored fondant. Use a little water & a paintbrush again to adhere it to the top.
Then roll out a little white fondant and swirl it around. Add a round ball of red fondant for the cherry and a few sprinkles.
To make the stem I used 18 gauge floral wire and curved it around a cup.
Then I took a small ball of fondant and rolled it over the wire, shaped it until it looked right and stuck it in the cherry. "Wow, that is a lot of whipped cream!" you say? Well, yes, it is. And this is how you fix your cake in front of a large audience when you forget your PVC cutters at home.
First you wrap a bunch of white fondant around the PVC pipe that is protruding through the top of your beautiful scoop. Then you gripe at your cake a bit for not reminding you to bring the cutters.
The first time I made this cake was for my daughter's 5th birthday. And I know I went a little overboard on the ice cream themed treats, but there were just too many cute ideas out there! I hope you've
liked this tutorial. Be sure to
like me on facebook:
Celebrate With Cake